
Garmin Venu 2 Plus FAQs & SpecsUpdated 2 years ago
Table of Contents
Garmin Venu 2 Plus Tech Support
Garmin Venu 2 Plus FAQs
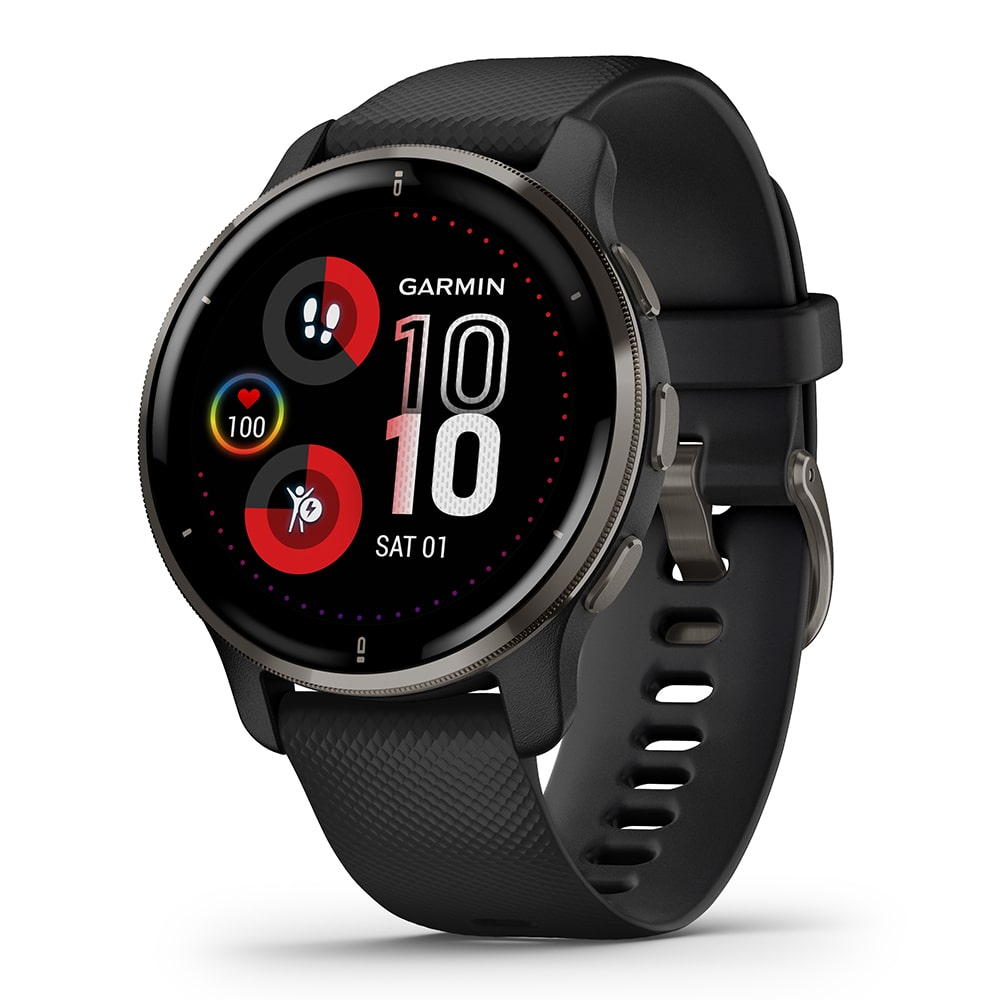
What's the difference between the Venu 2 Plus & the Venu 2/2S?
The Venu 2 Plus is everything the Venu 2/2S is, plus you can:
- Make calls from the Venu 2 Plus when connected to your compatible smartphone.
- Create or respond to text messages hands-free, courtesy of your paired smartphone’s voice assistant.
- Ask questions and even control your compatible smart home devices through your paired smartphone’s voice assistant.
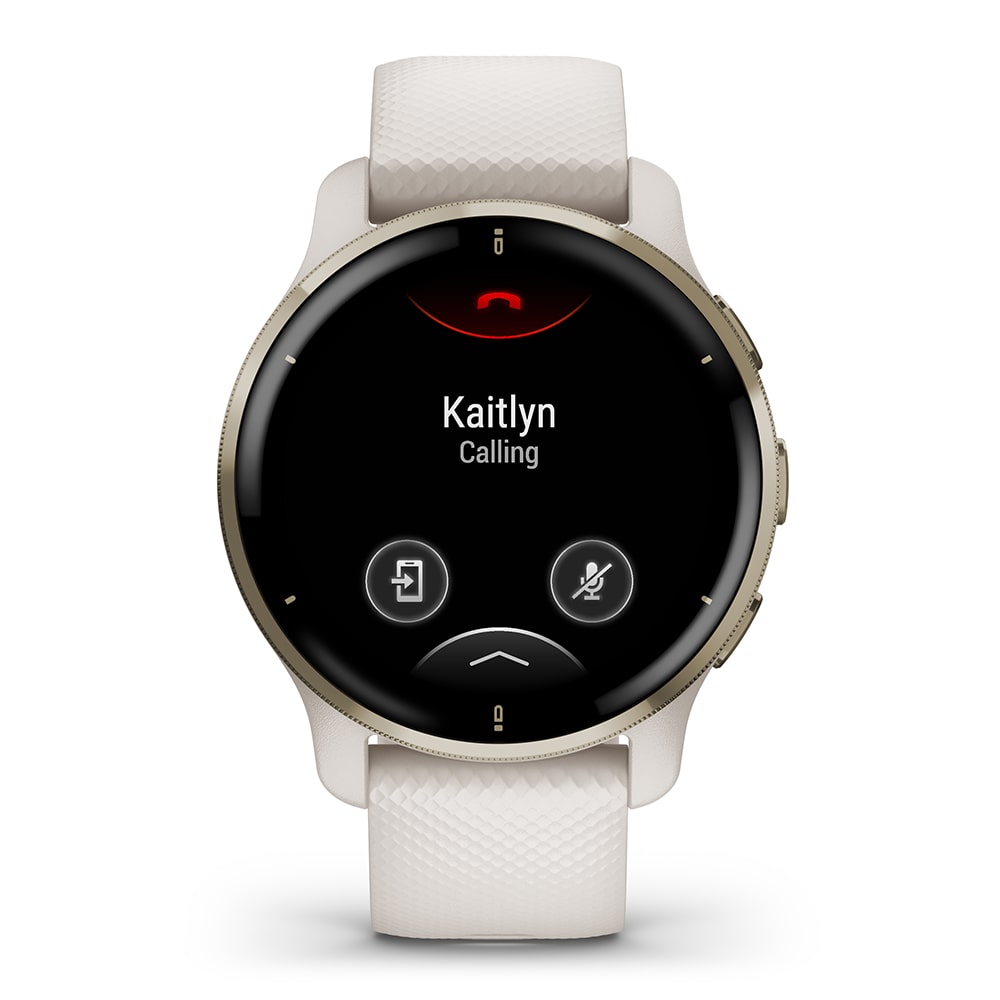
How do I receive an incoming call on my Venu 2 Plus?
When you have an incoming call, you will see a name of the contact and the phone number. (If you have not added your contacts on your phone to your account in the Garmin Connect app, you will only see the number). Tap the green phone icon on the watch face to accept. Tap the red icon to decline the call.
How do I make a call from my Venu 2 Plus?
Press and hold the top button on your Venu 2 Plus. This will bring up the controls menu. Tap the green phone icon. You will see a dial pad that you can use to manually dial a number or tap on the contacts list icon. Browse contacts list and see a list of recent calls that were received (only on the watch; calls made only on your phone will not show up). Open a contact and tap on the specific number to dial it. During the call, audio will come from the speaker on you smartwatch. If you are wearing wireless headphones, the call will not come through the headphones unless they are also paired with your smartphone AND you accept the call from the headphones.
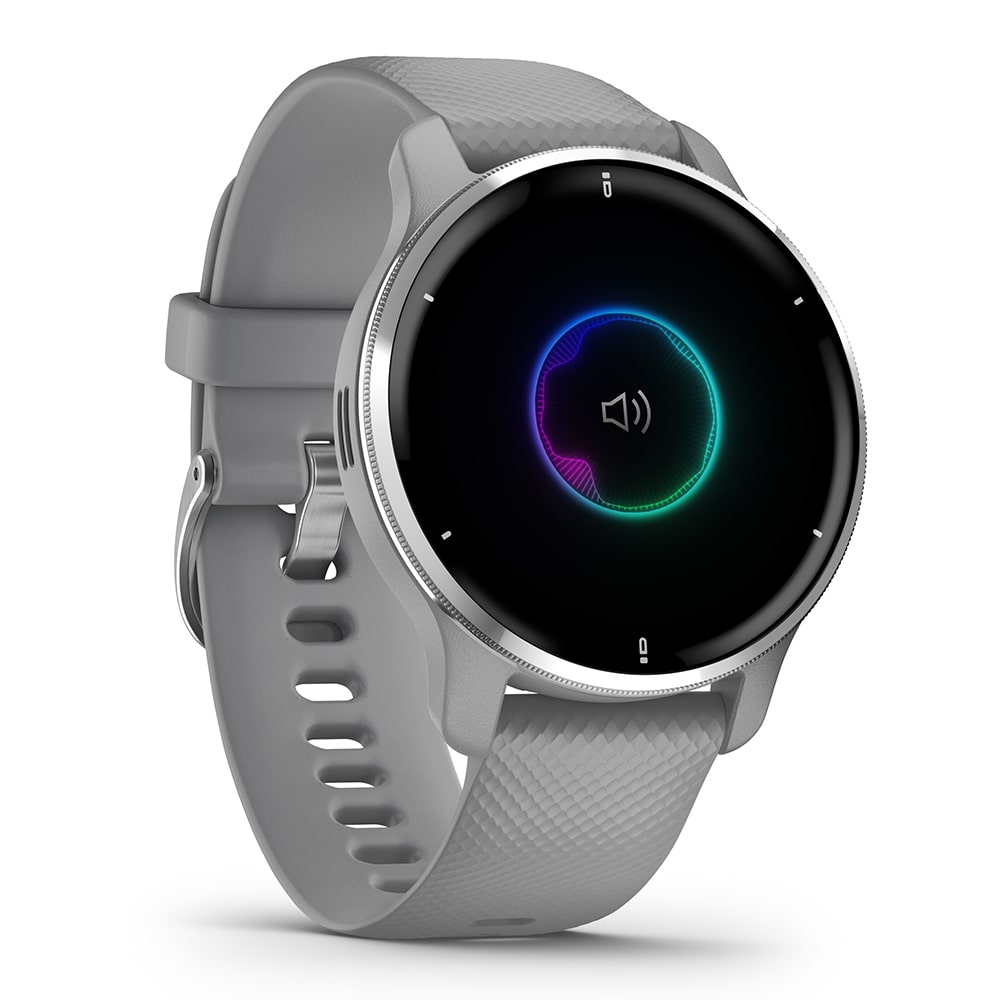
During the call, you can tap the arrow at the bottom of the screen to bring up volume control, add a phone call, or a dial pad in case you need to hit the # key or any additional numbers. Tap on the arrow at the top of the screen to close the options page and return to the call screen. Tap the red phone icon at the top of the screen to end the phone call.
If you want to transfer the call on your watch to your phone mid-call, tap the icon of the arrow pointing to a smartphone (see image above) on the call screen.
How do I import contacts from my phone onto my Venu 2 Plus?
You can add up to 50 contacts to your Venu 2 Plus for making and taking calls and assign up to 3 emergency contacts to work through the safety features on your phone,
To add regular contacts:
- Have the Garmin Connect app downloaded on your compatible smartphone.
- Open the app and tap the More icon.
- Select Contacts.
- Tap the 3 dots icon in the upper right, followed by Choose phone contact.
- Select Create Contact to enter the information manually or simply tap next to the contacts to select the ones you want to add.
- When finished adding contact, touch Done.
- When your smartwatch syncs with the Garmin Connect app, these new contacts will sync as well.
- Keep in mind, changes made to contacts on your phone will not update in Garmin Connect, and you'll need to make the changes in Garmin Connect as well.
To select 3 contacts for if/when a safety feature is triggered on you smartwatch:
- In the Garmin Connect app, tap the More icon.
- Select Safety and Tracking, followed by Safety Features.
- Touch Begin Setup.
- Accept the Incident Detection and Assistance terms.
- Enter your info and touch Next.
- Tap Add Emergency Contacts and choose up to 3 people.
- Touch Next when finished.
- On your Venu 2 Plus, you can also select Emergency Calling at the bottom o the Safety Features page and assign one contact or your local emergency numbers. You can set this one contact to be called through your watch if a safety feature is triggered. After that one contact is called, you can still opt to have an email and text sent to your 3 designated emergency contacts.
How do I use my phone's voice assistant with my Venu 2 Plus?
When connected to your smartphone, you can use the default voice assistant on your phone, such as Siri, Google Assistant, or Bixby, to send text, control your compatible smart home devices, and more. Press and hold the middle button on your Venu 2 Plus. This shortcut launches your voice assistant. You'll hear your familiar voice assistant's tone and your watch will vibrate to tell you that it is listening.
Let go of the button and start talking! Ask to send a text, and the assistant will help you dictate a message or ask your assistant to open the garage as you are coming home, and your compatible smart device will oblige! Ask a question, and your voice assistant will respond with an answer, like it does on your phone. Your Venu 2 Plus will not display any text or visual response from your assistant.
How do I set up voice assistance on my Venu 2 Plus?
The voice assistant options on the Venu 2 Plus are Siri, Bixby, and Google Assistant. Here's how to set up each one:
For Siri
To optimize communication with Siri on your Apple iPhone these settings will ensure that you are able to communicate with Siri using the Venu 2 Plus.
- Enable Siri on your smartphone.
- Allow Siri When Locked.
- Allow Siri access to the iPhone lock screen.
To Enable Siri and Allow Siri When Locked:
- Open Settings App.
- Select Siri & Search.
- Toggle Siri to on.
To Allow Siri Access to the iPhone Lock Screen:
- Open Settings App.
- Select Face ID & Passcode or Touch ID & Passcode
- Enter iPhone passcode.
- Toggle Allow Access When Locked to on position.
For Google Assistant
To optimize communication with your Google Assistant on your smartphone, Garmin recommends the following settings. Note because of the variety of Android phones in the market, adjusting these settings will vary by phone. Consult with your phone manufacture for assistance with any of the following recommendations.
- Set Google Assistant as your default voice assistant.
- Enable Google Assistant on your lock screen.
- Add Venu 2 Plus as your trusted device for Smart lock (optional).
For Bixby
To optimize communication with your Google Assistant on your Samsung smartphone, Garmin recommends the following settings. Instructions for adjusting Bixby settings and Smart Lock may vary based on phone model. Consult with Samsun for assistance with any of the following recommendations.
- Set Bixby as your default voice assistant.
- Enable Bixby on your lock screen.
- Add Venu 2 Plus as your trusted device for Smart lock (optional).
Setting Bixby as Default App
- Search for Bixby on the phone settings.
- Select Bixby under Apps.
- Select Set as default.
Enabling Bixby on Lock Screen
- Open the Bixby app.
- Open the settings menu.
- Toggle Use while phone locked to on.
My Venu 2 Plus will not turn on or charge. What should I do?
If your Garmin device won't turn on or charge, there are some basic troubleshooting steps that you can perform.
Is the Device Possibly Locked up?
In some instances, a device can appear locked up or frozen and not respond to any input including pressing a key, swiping the screen (touchscreen devices), or plugging the device into external power. You can attempt to recover the device by performing the following steps if your device has a physical power button:
NOTE: Following these steps may result in a loss of some data such as recent steps taken (activity trackers) or a loss of current time. To correct the time, sync the device with a smartphone using the Garmin Connect app or a personal computer using Garmin Express. For GPS devices go outside and acquire a GPS signal.
Plug the device into an external power source using the power/data cable.
Press and hold the power button until the screen changes (hold up to 30 seconds).
Is the Charging Cable in Working Condition?
Confirm that the cable is not damaged which would prevent the device from charging. Check the charging pins to ensure they are free of debris and not damaged. Replace the cable if necessary.
Are the Charging Contact Points on the Device in Working Condition?
Check the charging contact points on the device for damage, dirt, or debris. Use a pencil eraser or a cotton swab dipped in rubbing alcohol to clean them.
Is the Battery on the Device Fully Charged?
Plug the device into a power source using the power/data cable.
How do I load music from a streaming service to my Venu 2 Plus?
Music content from some streaming services can be loaded to a Forerunner 945 or 945 LTE by installing an available Connect IQ music app to the watch.
Select an option below for detailed instructions to install and sync music to your watch:
Where can I find the Garmin Venu 2 Plus Manual?
Click here to see the Venu 2 Plus manual.
See more Garmin Venu 2 Plus FAQs:
Click on this link for more Venu 2 Plus FAQ.
Garmin Venu 2 Plus Product Specifications
GENERAL
LENS MATERIAL: Corning® Gorilla® Glass 3
BEZEL MATERIAL: stainless steel
CASE MATERIAL: fiber-reinforced polymer with stainless-steel rear cover
QUICK RELEASE BANDS (20 mm, Industry standard)
STRAP MATERIAL: silicone
PHYSICAL SIZE: 43.6 x 43.6 x 12.6 mm; Fits wrists with a circumference of 125-190 mm
TOUCHSCREEN
COLOR DISPLAY
DISPLAY SIZE: 1.3" (33.0 mm) diameter
DISPLAY RESOLUTION: 416 x 416 pixels
DISPLAY TYPE: AMOLED optional always-on mode
WEIGHT: 51.0 g
BATTERY LIFE: Smartwatch mode: Up to 9 days
Battery saver smartwatch mode: Up to 10 days
GPS mode with music: Up to 8 hours
GPS mode without music: Up to 24 hours
WATER RATING: 5 ATM
MEMORY/HISTORY: 200 hours of activity data
Click here for a full list of product specs.
Need further troubleshooting? No problem!
For further technical support, we recommend contacting Garmin's fantastic technical support team—this can be done in two ways:
- via Phone: 1-800-800-1020
- via Garmin Support Center (support.garmin.com)
As an Authorized Garmin dealer, any Venu 2 Plus sold on PlayBetter.com is completely eligible for Garmin's 1-Year Limited Manufacturer Warranty. So you can be confident you'll be protected from any product defects within 365 of your delivery date!
When you purchase a Venu 2 Plus on PlayBetter.com, you have 60 days to return or exchange it—no questions asked!
The PlayBetter.com team is here to support you the entire way! So if you're not getting the help you need, please contact us via Help Center (email, chat or phone) and we'll make sure you're taken care of.